The first minutes of a fresh spawn in Apocalypse Rising 2 decide whether you become a threat or a loot delivery service. Learning apocalypse rising 2 how to gear up fast means converting those chaotic opening moments into a repeatable route that puts a rifle in your hands before the first squad rolls through. The beta map rewards players who know exactly which buildings to hit, which loot to skip, and when to leave a town before the gunfire starts.
The First Hour Loot Priority System
Your opening hour is not about collecting everything. It is about building a functional kit that lets you survive contact and keep moving. The most efficient players follow a strict priority order that changes as your inventory fills, because carrying heavy gear drains stamina faster and slows the sprint you need to break contact. Community testing consistently shows that players who ignore this priority order spend twice as long in the open and die to squads who already have rifles.
The loot priority system works in three phases. Phase one is civilian essentials: a melee weapon, any backpack, basic food, and a water container. Phase two is combat readiness: a primary firearm, at least two spare magazines, and medical supplies. Phase three is specialization: optics, suppressors, armor, and utility items like lockpicks or maps. Each phase has a specific goal, and moving to the next phase before completing the current one leaves you vulnerable in ways that experienced players exploit.
| Priority Phase | Core Items | Time Window | Success Signal |
|---|---|---|---|
| Civilian Essentials | Melee weapon, backpack, food, water | First 5-10 minutes | You can survive a single Infected encounter without losing health |
| Combat Readiness | Primary firearm, 2+ magazines, bandages | 10-25 minutes | You can win a 1v1 against an unarmored player |
| Specialization | Optics, suppressor, armor, utility items | 25-60 minutes | You can engage at range and disengage safely |
The transition between phases matters more than the loot itself. A player who finds an M16 in the first five minutes but has no backpack will drop half their ammunition the moment they try to carry food. A player with a full civilian kit and a Makarov can still win fights by positioning well. The priority system exists because gear synergy beats raw item quality in the first hour.
Why Melee Weapons Come First
A melee weapon is silent, needs no ammo, and a stealth kill on an Infected improves the odds of a better drop than shooting it does. The Fire Axe and Crowbar are the two most common early finds, and both can one-shot a standard Infected with a head hit. Community reports suggest that melee kills on Infected have a noticeably higher chance to drop canned food or bandages compared to gun kills, which makes the early melee phase a self-sustaining loop.
You also need a melee weapon because early firearms are loud. Firing a M1911 in a quiet town announces your position to every player within a kilometer. Until you have a primary weapon with enough ammunition to fight back, silence is your best armor. The melee phase teaches you the movement patterns of Infected, which pays off later when you need to clear buildings quietly during a loot run.
High-Value Spawn Points on the Beta Map
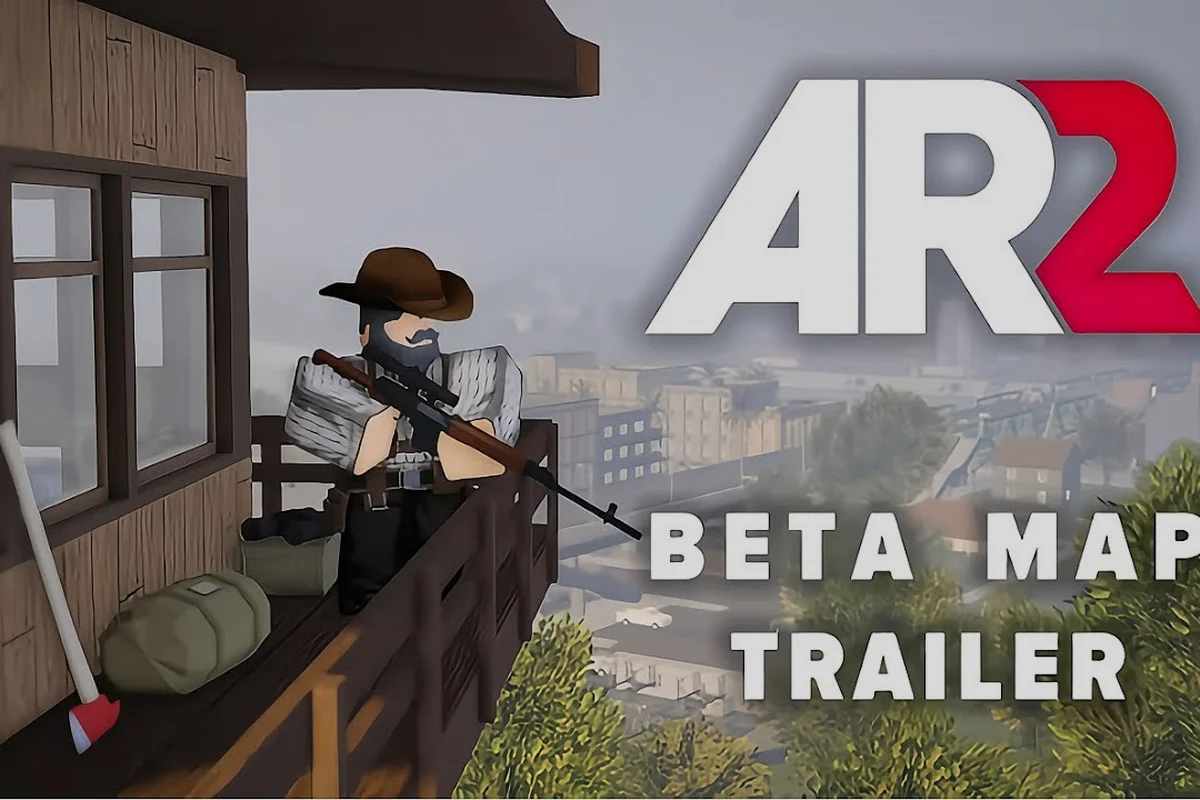
The beta map is an archipelago, and players spawn unarmed on the coastline. The first minutes are a race to reach a civilian building before another squad clears it. Not all spawn points are equal, and knowing which structures contain the best early loot is the difference between a clean start and a desperate scramble. Community guides like Mathias's loot guide for the new beta map break down the highest-density civilian spawns, and the pattern is consistent across servers.
The map's loot distribution follows a simple rule: military areas have the best gear but the most traffic, while civilian areas have reliable basics with lower risk. Your spawn point determines your opening route. If you spawn near the Coastal Town, you want to hit the two-story houses first because they contain multiple lootable containers per room. If you spawn near the Fishing Village, the docks and warehouses hold more utility items than the residential shacks.
| Spawn Region | Best Early Buildings | Primary Loot Type | Risk Level |
|---|---|---|---|
| Coastal Town | Two-story houses, convenience store | Civilian weapons, food, backpacks | Medium |
| Fishing Village | Docks, warehouses, bait shop | Utility items, melee weapons, water | Low |
| Military Outpost | Barracks, armory, watchtower | Military rifles, armor, ammo | High |
| Rural Farmland | Barns, farmhouses, silos | Shotguns, food, medical supplies | Low |
The Military Outpost is a trap for new players. It has the best loot density on the map, but servers cap at 16 players, so every town you enter is a live player encounter rather than a quiet loot run. The outpost attracts every geared squad within two kilometers, and an unarmed player walking into that environment is donating their spawn timer to whoever is already camping the armory. Save the military areas for after you have a functional kit.
Reading the Loot Density Map
Experienced players do not memorize individual item spawns. They memorize container density: how many lootable objects exist in a given building, and how quickly they can be checked. A two-story house might have eight containers spread across six rooms, while a warehouse might have twelve containers in one open space. The warehouse is faster to clear even though it has more containers, because you are not spending time opening doors and climbing stairs.
Container density also affects your exposure time. Every second you spend inside a building is a second you cannot see the street. Buildings with open floor plans let you loot while maintaining sightlines to the windows and doors. Buildings with many small rooms force you to choose between speed and awareness. The best early-game buildings combine high container density with open sightlines, which is why the Fishing Village warehouses are considered one of the safest high-yield spawns on the beta map.
Solo Farming Tactics That Keep You Alive
Playing solo changes every decision you make. You have no one to watch your back, no one to revive you, and no one to split the loot with. The apocalypse rising 2 how to gear up fast question becomes an apocalypse rising 2 how to play solo question, because the tactics that work for a squad will get a solo player killed. Solo survival depends on movement discipline, engagement avoidance, and loot efficiency.
The core solo principle is simple: never fight unless you have already won. A solo player should avoid any engagement where the outcome is uncertain, because a single mistake ends the run. Squads can afford to trade shots and revive each other. A solo player who takes a bad fight loses everything. This principle shapes every other decision, from which buildings to enter to which roads to travel.
| Solo Tactic | What It Does | When to Use It |
|---|---|---|
| Edge Looting | Stay on the perimeter of towns, hit outer buildings first | Always, until you have a primary weapon |
| Sound Discipline | Use melee or suppressed weapons, avoid sprinting near towns | When you suspect players are nearby |
| Route Reversal | Enter a town from the opposite side of your spawn | When you see looted buildings ahead |
| Bait Avoidance | Skip obvious loot traps like lone military crates in open fields | When the area is too quiet |
Edge looting is the most important solo tactic in the first hour. Instead of running to the center of a town where the best buildings are, you work the perimeter. The outer buildings have slightly worse loot but far less traffic, and you can retreat into the treeline at the first sign of trouble. Once you have a functional kit, you can push toward the center with the confidence that you can actually fight back.
The Solo Engagement Checklist
Before you take any fight as a solo player, run through a mental checklist. Do you have cover within two seconds of movement? Do you have ammunition for at least two reloads? Do you know the exit route if the fight goes badly? Can you identify how many players you are actually facing? If any answer is no, the correct play is to disengage and reposition.
This checklist exists because solo fights are decided in the first three seconds. A squad can recover from a bad opening because they have teammates to suppress the enemy while someone flanks. A solo player who gets caught in the open has no recovery mechanic. The checklist forces you to evaluate the fight before it starts, which is the only time you have full control over the outcome.
Building a Repeatable Loot Route
A repeatable loot route is the backbone of fast gearing. Instead of wandering the map hoping to find good buildings, you follow a planned path that hits high-density areas in a specific order. The route should minimize backtracking, maximize container checks per minute, and keep you near cover at all times. Players who run the same route consistently report finding a primary weapon within the first fifteen minutes, according to community data.
The best routes follow a spiral pattern: start at your spawn point, move outward through low-risk civilian areas, then loop back toward the center as your kit improves. This pattern ensures you always have an escape path and never walk into a high-traffic area under-geared. The spiral also naturally brings you back toward the center of the map, where the best loot is, at the moment when you are actually ready to contest it.
| Route Segment | Buildings to Hit | Expected Outcome | Time Budget |
|---|---|---|---|
| Spawn to Perimeter | Nearest 3-4 civilian buildings | Melee weapon, backpack, basic food | 5 minutes |
| Perimeter Sweep | Outer houses, small shops, garages | Pistol or shotgun, bandages, water | 10 minutes |
| Mid-Town Push | Police station, clinic, hardware store | Primary rifle, medical supplies, tools | 15 minutes |
| Military Contention | Checkpoint, outpost perimeter, watchtowers | Military gear, armor, optics | 20+ minutes |
The Mid-Town Push is where most solo players die. The police station and clinic are high-value targets that attract both squads and solo players, and the buildings themselves have multiple entry points that make them hard to defend. The key is to approach from the side with the most cover, clear the building quickly, and leave before the gunfire attracts more players. If you hear shots nearby, skip the mid-town push entirely and continue your perimeter sweep.
Adapting the Route to Server Conditions
No route survives contact with a live server. The beta map is small enough that you will encounter other players within the first ten minutes, and their presence changes the value of every building on your route. A police station that was empty five minutes ago might now contain a three-man squad. A quiet farmhouse might be the last unlooted building in a picked-over town.
The skill is not memorizing a route. It is reading the server and adjusting in real time. If you see looted containers in a building, someone has been there recently, and they might still be nearby. If you hear distant gunfire, the players involved are occupied, which creates a window to loot in the opposite direction. If you see fresh player corpses, the killer is likely still in the area. These signals matter more than any static route, and the advanced tips guide covers the full decision framework for reading server conditions.
Gear Synergy and Inventory Management
Fast gearing is not just about finding items. It is about keeping the right items and dropping the rest. Your inventory is limited, and every slot filled with a low-value item is a slot that cannot hold ammunition, medical supplies, or a better weapon. The most common mistake new players make is carrying too much food and not enough ammunition, because food is easy to find and feels safe to hoard.
The inventory efficiency rule is simple: carry what you need for the next twenty minutes, not what you might need eventually. Two cans of food and one water bottle will keep you alive through any single loot run. Three spare magazines for your primary weapon will get you through most fights. Everything beyond that is dead weight that slows your sprint and makes you an easier target.
| Item Category | Recommended Carry | Why This Amount |
|---|---|---|
| Food | 2-3 cans or equivalents | Enough for one full hunger cycle |
| Water | 1-2 full containers | Hydration drains slower than hunger |
| Primary Ammo | 3-4 spare magazines | Survives one extended firefight |
| Medical | 3-5 bandages, 1 medkit | Enough for two minor injuries or one major |
| Utility | 1-2 items (lockpick, map, compass) | Situational value only |
The medical supplies slot is where solo players should over-invest. A squad can share bandages and revive each other, but a solo player who runs out of medical supplies after a single fight is effectively dead. The apocalypse rising 2 solo survival guide principle is that healing items are worth more than any weapon upgrade, because a dead player cannot use a better gun. Carry more bandages than you think you need, and treat every medkit as a second life.
Weapon Selection for Fast Gearing
Your weapon choice affects your entire gearing speed. A heavy rifle like the M14 hits hard but slows your movement and burns through rare ammunition. A light weapon like the Makarov or M1911 keeps you mobile but struggles against armored players. The best early-game weapon is whatever you can feed consistently, because a weapon with no ammunition is just a club.
Community consensus points to the M16 and AK-47 as the best mid-tier options for solo players. Both use common ammunition types, both accept optics and suppressors, and both are effective at the ranges where most beta map fights occur. The combat guide breaks down the full weapon tier list and engagement ranges, but for fast gearing purposes, the rule is simple: find a rifle that uses common ammo, then build your kit around it.
Frequently Asked Questions
What is the fastest way to get geared in Apocalypse Rising 2?
The fastest method is to follow a spiral loot route from your spawn point through low-risk civilian areas, then push toward mid-town buildings like the police station once you have a functional kit. Avoid military areas until you have a primary weapon and spare ammunition, because those zones attract geared squads.
Where should I spawn to gear up quickly?
The Fishing Village and Coastal Town are the best spawn regions for fast gearing. Both offer high container density in civilian buildings with manageable player traffic. The Military Outpost has better loot but is a death trap for unarmed players, especially on full 16-player servers.
How do I gear up fast as a solo player?
Solo players should prioritize edge looting, sound discipline, and engagement avoidance. Never take a fight unless you have cover, ammunition, and a known exit route. The solo path is slower than squad play but far more survivable, because you control every engagement and never split loot.
What items should I prioritize in the first hour?
Your first-hour priority order is: melee weapon, backpack, food, water, then a primary firearm with spare magazines, then medical supplies. Skip optics and armor until you have a functional combat kit, because those items are useless if you cannot survive a basic encounter.
Is the beta map different for gearing up?
Yes, the beta map is an archipelago with 16-player servers, which means every town is a potential player encounter. The map's loot distribution favors civilian areas for early gearing and military areas for late-game specialization. Community guides report that the beta map's smaller size makes route planning more important than on the original map.