Learning the Apocalypse Rising 2 tutorial basics matters because your first ten minutes on the archipelago decide whether you survive or get sent back to the spawn screen. This guide breaks down every control, keybind, and early-game decision so you can move, loot, and fight without fumbling through the settings menu. You will also find the current Xbox availability answer and the exact steps to earn the Survivor badge during limited events.
Core Movement and Interaction Controls
Apocalypse Rising 2 uses a standard Roblox control scheme with a few survival-specific additions that trip up new players. The default layout prioritizes quick access to your inventory, interact key, and stance toggles because combat can start the moment another player spots you near a civilian building. Community guides such as the Survivor Guide #1: The Basics emphasize that mastering these inputs before your first real loot run prevents most early deaths.
Default Keyboard and Mouse Bindings
The table below lists the essential Apocalypse Rising 2 controls you need on a keyboard and mouse setup. These bindings reflect the default configuration as of September 2026, and some servers may adjust sensitivity or key assignments through the Roblox settings menu.
| Action | Default Keybind | Notes |
|---|---|---|
| Move Forward / Back / Strafe | W / A / S / D | Standard WASD movement |
| Sprint | Left Shift | Drains stamina faster while carrying heavy gear |
| Jump | Spacebar | Useful for vaulting low obstacles |
| Interact / Pick Up | E | Opens doors, loots containers, enters vehicles |
| Inventory | Tab | Opens your backpack and equipped gear |
| Reload | R | Works only when a magazine is available |
| Crouch | C | Reduces your profile and noise slightly |
| Prone | X | Lowers visibility in grass or behind cover |
| Aim Down Sights | Right Mouse Button | Improves accuracy but slows movement |
| Fire | Left Mouse Button | Semi-auto or full-auto depending on weapon |
The Interact key is the most important binding because nearly every action in Apocalypse Rising 2 flows through it. You press E to open civilian house doors, search kitchen cabinets, grab a melee weapon from a shelf, or climb into a vehicle seat. New players often stand next to a lootable container and wonder why nothing happens, when the real issue is that they never pressed the interact key while looking directly at the object.
Stance and Stamina Management
Your stance directly affects how much noise you generate and how quickly your stamina drains during a run. Sprinting while standing makes you easy to spot from a distance, while crouching or going prone reduces your silhouette but slows your movement speed. The stamina bar drains whenever you sprint, and carrying heavy gear like a loaded rifle or a full backpack accelerates that drain, which means you need to plan your escape routes before a fight starts.
A practical routine for new players is to sprint between buildings, then crouch or go prone once you reach cover. This conserves stamina for the moments when you actually need to break contact with an infected or a hostile player. Community reports consistently note that players who sprint everywhere run out of stamina at the worst possible time, usually when a squad is already lining up shots.
Inventory, Hotbar, and Gear Management
Managing your inventory quickly separates survivors who thrive from those who become loot pinatas. The Apocalypse Rising 2 tutorial experience teaches you that every item takes up space, and your backpack capacity limits how much you can carry before movement penalties kick in. Understanding the hotbar and gear slots prevents the common mistake of carrying too much food while leaving behind a critical bandage or spare magazine.
Understanding Your Inventory Layout
Your inventory screen shows equipped clothing, a backpack with limited slots, and a hotbar for quick access items. The hotbar is where you place medical supplies, melee weapons, and throwables so you can use them without opening the full inventory. The table below summarizes the main inventory zones and what belongs in each one.
| Inventory Zone | Purpose | Best Items to Place |
|---|---|---|
| Clothing Slots | Worn gear that provides storage and protection | Shirt, pants, vest, backpack |
| Hotbar | Quick-use items accessible without opening inventory | Bandages, melee weapon, grenades |
| Backpack | Bulk storage for loot and supplies | Food, water, spare ammo, medical kits |
| Weapon Slots | Primary and secondary firearms | Rifle or shotgun, pistol |
| Tool Slot | Utility items for specific actions | Map, compass, flashlight |
The backpack is your most valuable early find because it expands your carrying capacity and lets you loot more than a handful of items. Without a backpack, you can only carry what fits in your clothing pockets, which forces you to leave behind valuable supplies. Players report that finding even a small backpack in the first civilian house dramatically improves your survival odds.
Hotbar Prioritization and Quick Swapping
Your hotbar should always contain at least one medical item and one melee weapon. The melee weapon matters because it is silent, needs no ammo, and a stealth kill on an infected improves the odds of a better drop than shooting it does. Medical items like bandages stop bleeding, which is often the difference between limping to safety and bleeding out behind a shed.
Quick swapping between hotbar slots happens with the number keys, and experienced players rebind these to comfortable positions if they use a mouse with extra buttons. The goal is to reach your bandage or melee weapon without taking your eyes off the threat in front of you. Practicing this swap in a safe area before your first real encounter saves precious seconds when an infected rounds a corner.
Early Game Walkthrough and First Objectives
This Apocalypse Rising 2 walkthrough section covers the first fifteen minutes of a fresh spawn, which is when most new players die. You spawn unarmed on the archipelago, and the first minutes are a race to reach a civilian building before another squad clears it. Servers cap at 16 players, so every town you enter is a live player encounter rather than a quiet loot run.
Spawn Priorities and Loot Order
Your first objective is to find any melee weapon, then a backpack, then food and water. The order matters because a melee weapon lets you defend yourself against infected without wasting ammo you do not have yet. A backpack expands your loot capacity so you can carry the supplies you find. Food and water keep your hunger and thirst bars from draining into dangerous territory.
The table below outlines a reliable early-game loot order based on community testing and player reports from the current patch.
| Priority | Item Type | Why It Matters | Where to Look |
|---|---|---|---|
| 1 | Melee Weapon | Silent defense, no ammo needed | Kitchens, garages, sheds |
| 2 | Backpack | Expands carrying capacity | Bedrooms, closets, military tents |
| 3 | Food and Water | Prevents hunger and thirst drain | Kitchens, convenience stores |
| 4 | Medical Supplies | Stops bleeding and restores health | Bathrooms, medical buildings |
| 5 | Firearm and Ammo | Real combat capability | Police stations, military areas |
Hunger, thirst, and stamina all drain during a run, and carrying heavy gear drains stamina faster while slowing the sprint you need to break contact. This means you should avoid loading up on every item you see. Instead, take what you need for the next ten minutes and keep moving toward better loot zones.
Navigating Civilian and Military Zones
Civilian buildings are safer than military zones but offer weaker loot. Military zones contain better firearms, armor, and medical supplies, but they also attract more players and infected. The Apocalypse Rising 2 tutorial path usually sends you through civilian areas first so you can gear up before risking a military run.
When you enter a town, approach from the outskirts and listen for gunshots or footsteps. If you hear fighting, either avoid the area or wait until the survivors move on. Rushing into a contested building with only a kitchen knife is a fast way to lose your fresh spawn. The beginner guide covers survival fundamentals in more detail, but the core lesson is patience: loot quietly, watch your stamina, and only fight when you have an advantage.
Xbox Availability and Platform Options
One of the most common questions from new players is whether Apocalypse Rising 2 is available on Xbox. The short answer is that Apocalypse Rising 2 is a Roblox experience, which means it runs on any platform that supports the Roblox client, including Xbox consoles. However, the control scheme changes significantly when you play on a controller instead of a keyboard and mouse.
Playing on Xbox and Controller Bindings
Roblox on Xbox supports Apocalypse Rising 2, but the default controller layout maps actions to face buttons and triggers rather than keyboard keys. The table below shows the general controller mapping for Roblox experiences, though Apocalypse Rising 2 may adjust specific actions based on its own input handling.
| Action | Xbox Controller Binding | Notes |
|---|---|---|
| Move | Left Stick | Standard movement |
| Camera | Right Stick | Look around and aim |
| Interact | X Button | Opens doors, loots items |
| Jump | A Button | Vaults low obstacles |
| Sprint | Left Stick Click | Drains stamina while moving |
| Inventory | Y Button | Opens backpack and gear |
| Fire | Right Trigger | Attacks with equipped weapon |
| Aim | Left Trigger | Aims down sights |
Controller players often struggle with inventory management because navigating the grid-based backpack with a stick is slower than using a mouse. Community reports suggest that Xbox players should prioritize hotbar organization even more than PC players, since opening the full inventory mid-fight is riskier on a controller. The advanced tips guide covers platform-specific strategies for players who want to optimize their setup.
PC vs Xbox Performance and Experience
PC players generally have an advantage in Apocalypse Rising 2 because mouse aiming is faster and more precise than stick aiming. However, Xbox players can still compete by using cover effectively and avoiding long-range engagements where mouse precision matters most. The game itself runs through the Roblox client on both platforms, so performance depends more on your internet connection and device hardware than on the platform itself.
If you are deciding between platforms, consider where your friends play and which input method feels more natural. There is no cross-progression penalty for switching platforms, since your Roblox account carries your inventory and progress across devices. The key is to practice the controls on your chosen platform until they become second nature, because hesitation during a firefight is usually fatal.
Earning the Survivor Badge and Event Rewards
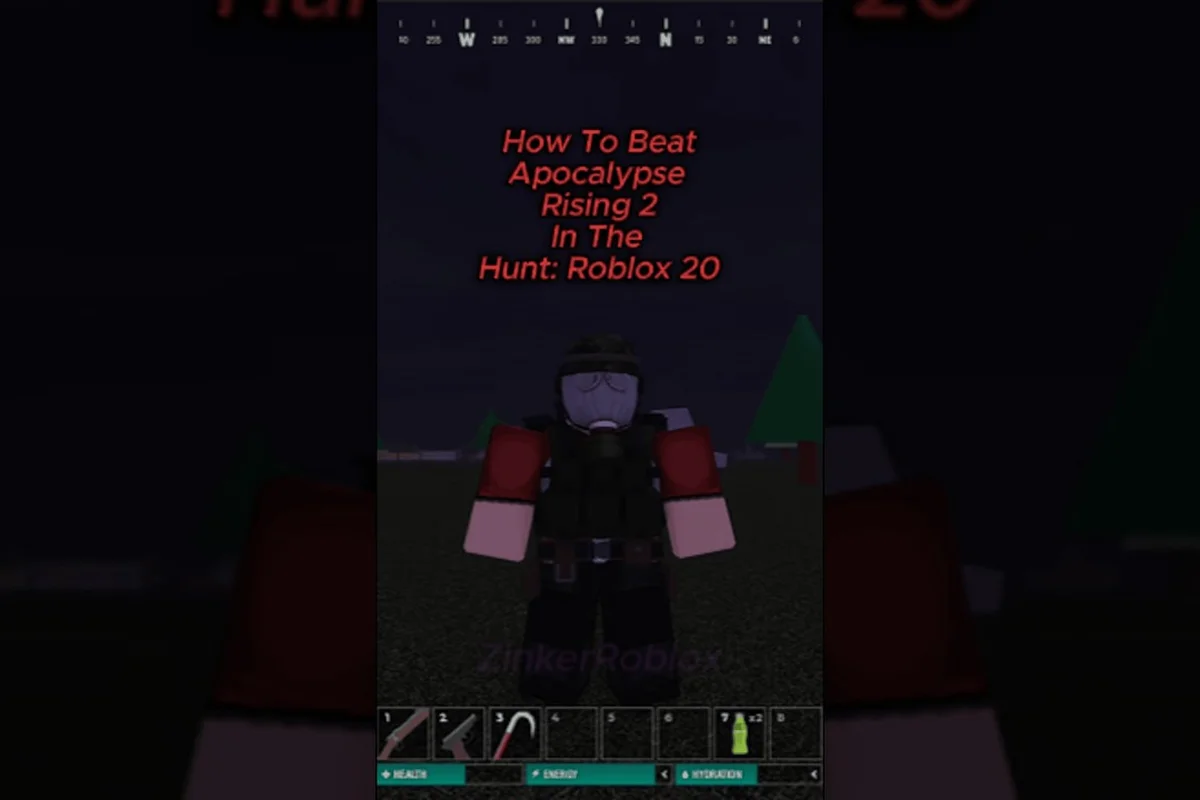
The Survivor badge in Apocalypse Rising 2 is tied to limited-time events, most recently The Hunt: Roblox 20 event. Community video guides such as How to Get the Badge & UGC in Apocalypse Rising 2 walk through the exact steps, which typically involve surviving for a set duration or reaching a specific location during the event window. The badge is not always available, so you need to check the event schedule and act while the window is open.
Survivor Badge Requirements
During The Hunt: Roblox 20 event, players needed to complete a specific survival objective to earn the Survivor badge and associated UGC rewards. The exact requirements shift between events, but the general pattern involves surviving long enough to prove you understand the core mechanics. Players who already mastered the Apocalypse Rising 2 tutorial basics had a significant advantage because they could focus on the event objective instead of learning controls mid-run.
The table below summarizes the general badge-earning process based on community reports from the most recent event.
| Step | Action | Details |
|---|---|---|
| 1 | Join during the event window | Badge is only available while the event is active |
| 2 | Complete the survival objective | Usually involves surviving a set time or reaching a location |
| 3 | Claim the badge in-game | Badge appears after the objective completes |
| 4 | Check your Roblox inventory | UGC rewards may take time to appear |
The badge itself is a cosmetic achievement, but the UGC rewards tied to it can include exclusive items that are only available during the event. If you miss the window, you may not get another chance, so community guides recommend setting a reminder when a new event is announced.
Preparing for Future Events
The best way to prepare for future badge events is to master the fundamentals now. When the next limited-time objective drops, you want to spend your energy on the event task rather than figuring out which key opens your inventory. Practice looting efficiently, managing stamina, and winning early fights so that any survival objective feels routine.
The how to gear up fast guide provides a structured approach to early loot routes, which translates directly to event performance. Events often compress the normal survival loop into a shorter window, so players who can gear up quickly and avoid unnecessary fights have the best chance of earning the badge before the event ends.
Frequently Asked Questions
What are the basic Apocalypse Rising 2 controls on PC?
The default PC controls use WASD for movement, Shift to sprint, E to interact, Tab for inventory, R to reload, and the mouse buttons for aiming and firing. C and X toggle crouch and prone, which help you stay hidden and conserve stamina during tense encounters.
Is Apocalypse Rising 2 on Xbox?
Yes, Apocalypse Rising 2 is playable on Xbox through the Roblox client. The controller layout maps movement to the left stick, camera to the right stick, and actions like interact and jump to the face buttons. Inventory management is slower on a controller, so hotbar organization matters more on console.
How do I earn the Survivor badge in Apocalypse Rising 2?
The Survivor badge is tied to limited-time events like The Hunt: Roblox 20. You need to join during the event window and complete the survival objective, which usually involves surviving for a set duration or reaching a specific location. The badge and UGC rewards appear after the objective completes.
What should I loot first in an Apocalypse Rising 2 walkthrough?
Prioritize a melee weapon first for silent defense, then a backpack to expand carrying capacity, followed by food and water to manage hunger and thirst. Medical supplies and firearms come after you have the basics covered. Civilian buildings are safer early loot zones than military areas.
Can I rebind my Apocalypse Rising 2 keybinds?
Yes, you can adjust keybinds through the Roblox settings menu or in-game options if the experience supports custom bindings. Many players rebind inventory or hotbar keys to mouse buttons for faster access during fights. Test your new bindings in a safe area before entering combat.